Published on: 2019-08-01
Chef Server 12.x Install
Estimated time to read: 2 minutes
- Provision a Linux host
- Download the installer onto the host
- Install Chef server
- Start all the Chef services
- Create an administrator account. This command will generate an RSA private key, which is the private key for that user. Specifying the --filename option allows you to specify the path
- Create an organisation. This command will generate an RSA private key, which is the chef-validator key.
- Install the management console
-
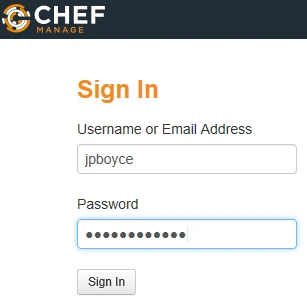
Logon to the Chef Manage console to verify things are working, using the administrator account details from step 5
-
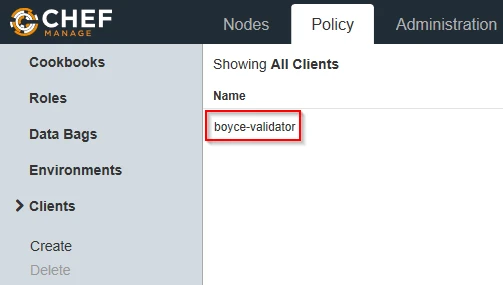
Go to the Policy tab and the Clients menu item. Verify there is an item for ORGNAME-validator
-
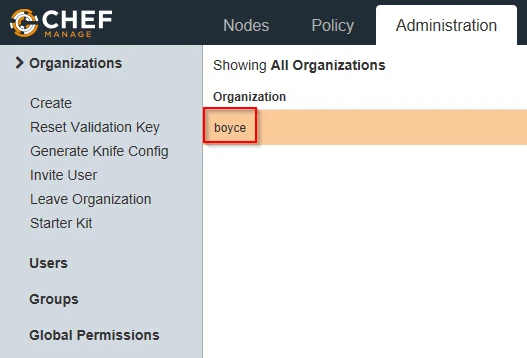
Click on the Administration tab and under Organisations, verify there is an item for your organisation
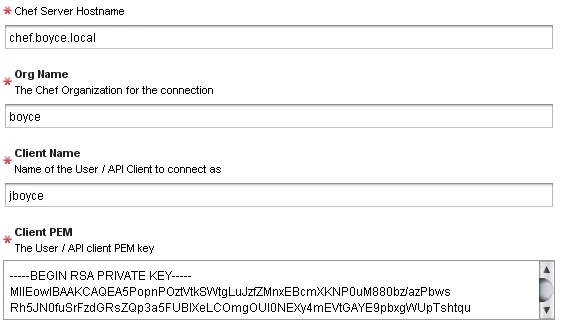
To add the Chef server to vRO's inventory, run the Add Chef Host workflow (Library > CHEF > Configuration). Fill in the form items and submit the workflow